Skip to content

Installing Walls And Solar

  • By Kate Moore
  • on 
  • This post may contain affiliate links. As an Amazon Associate, I earn from qualifying purchases. Please read my full disclosure.

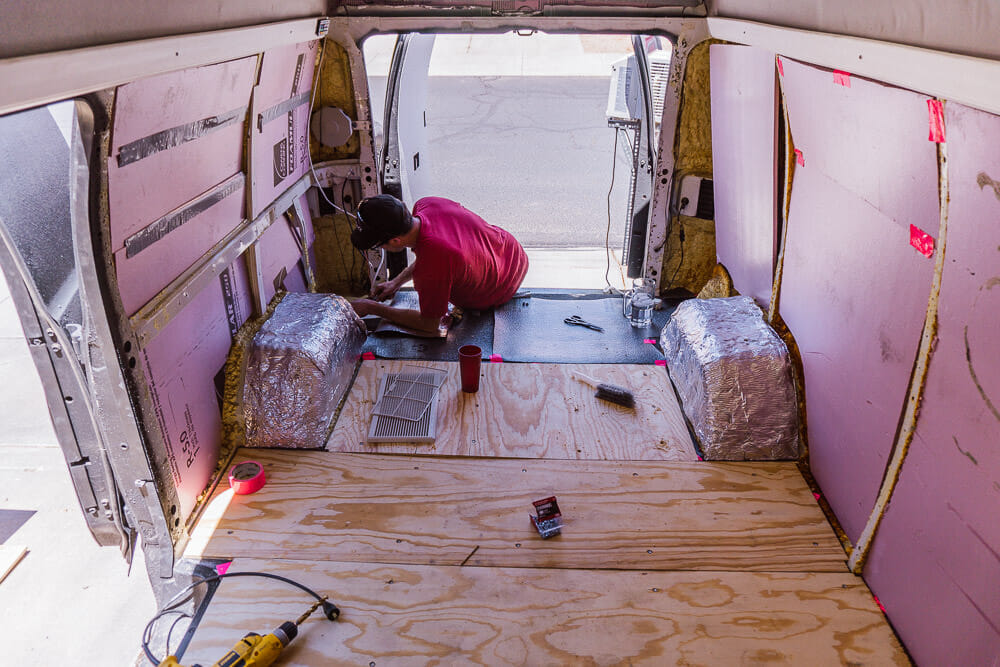
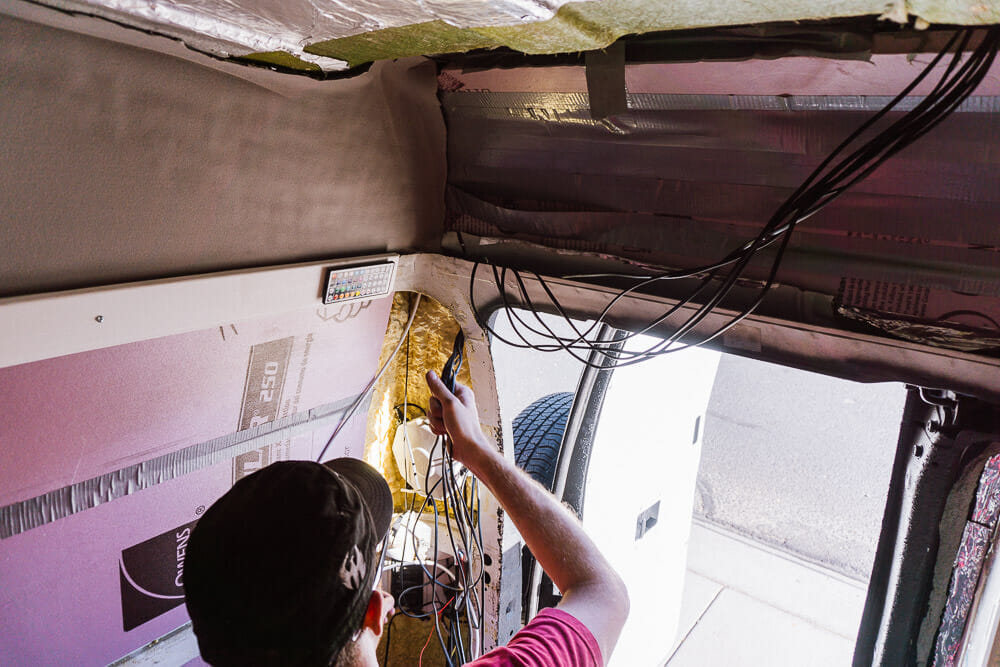
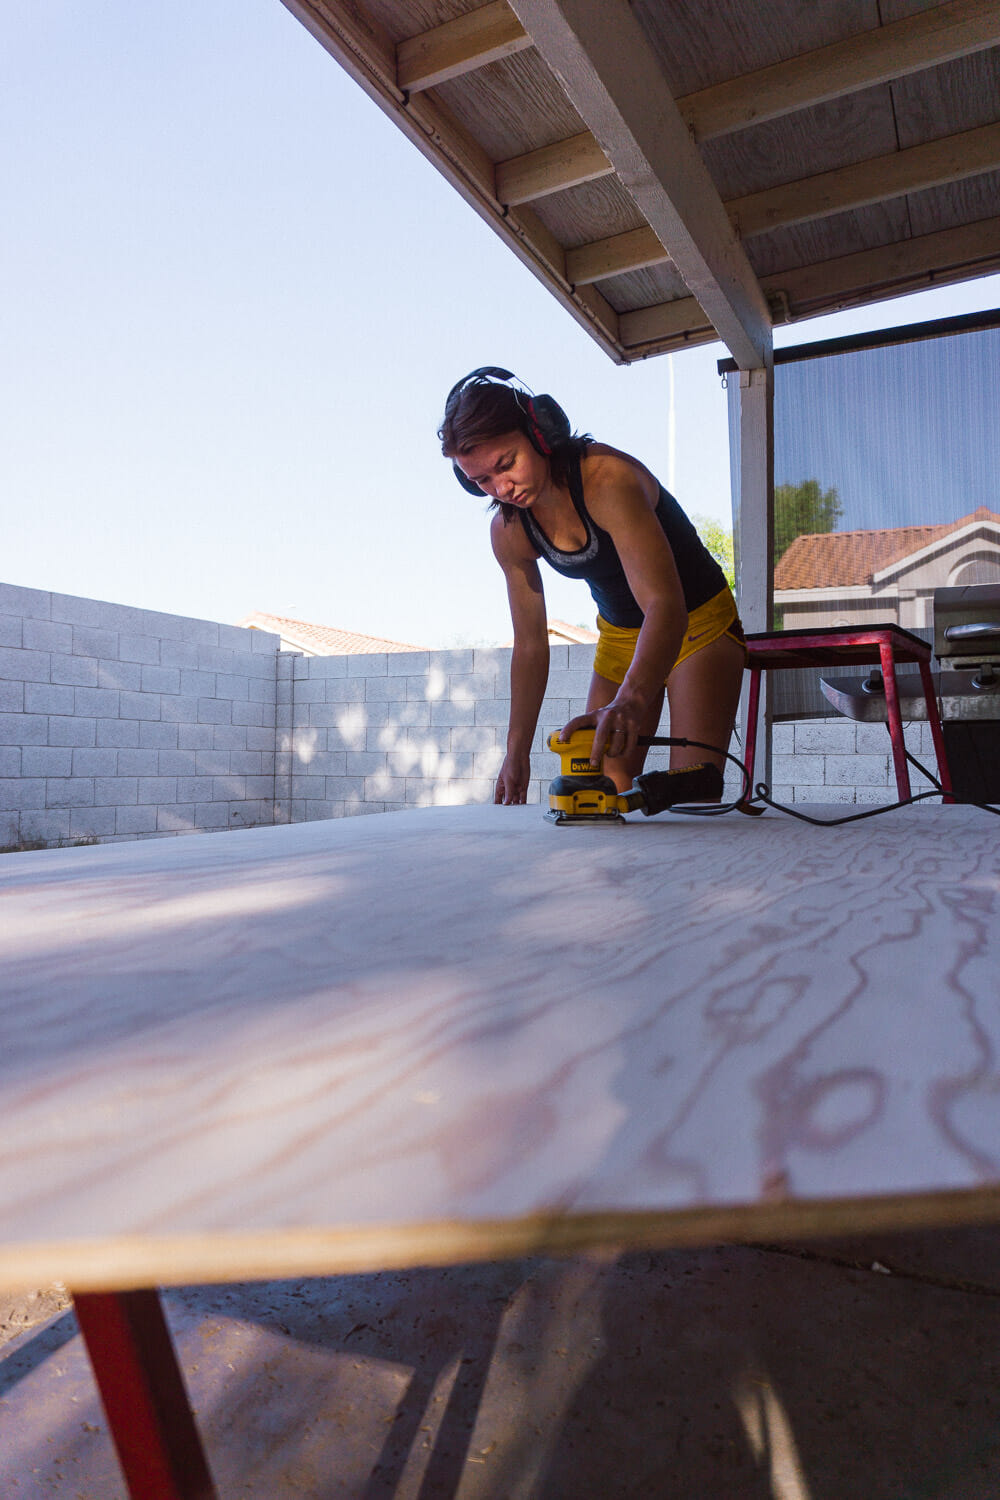
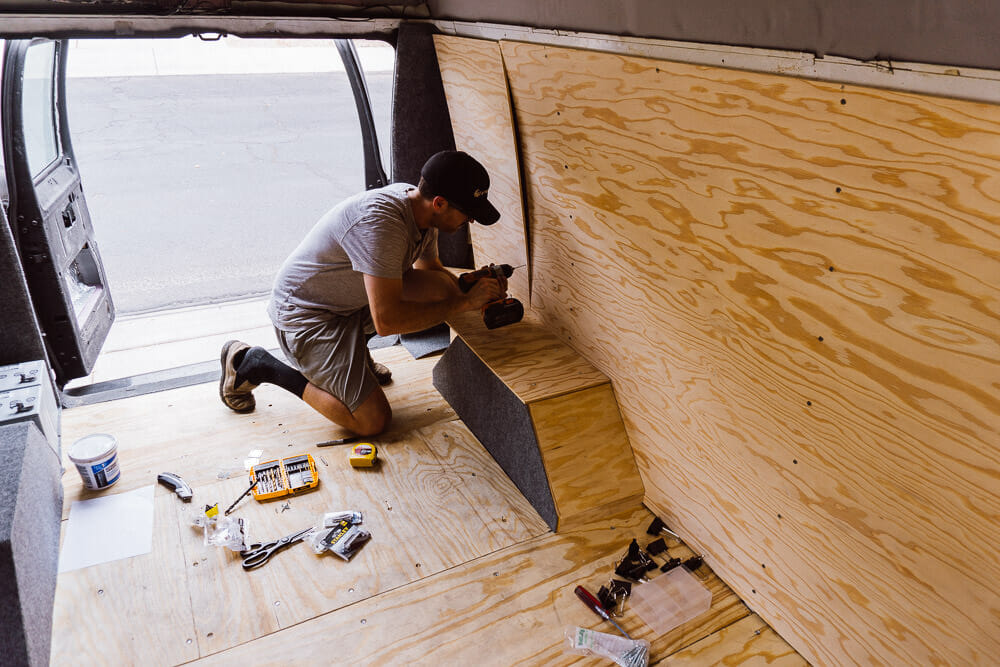
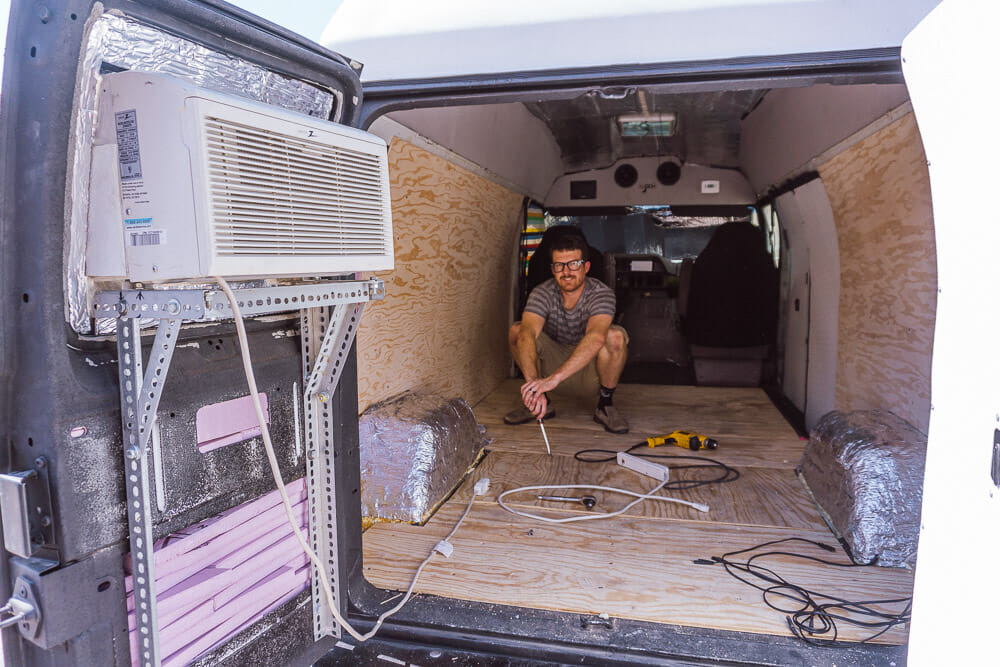
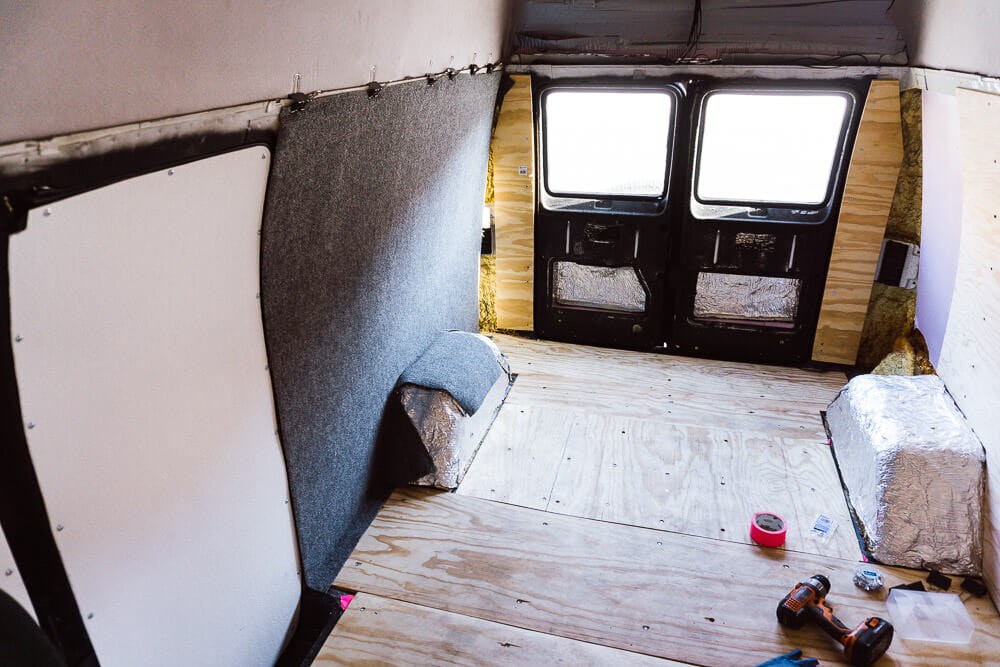
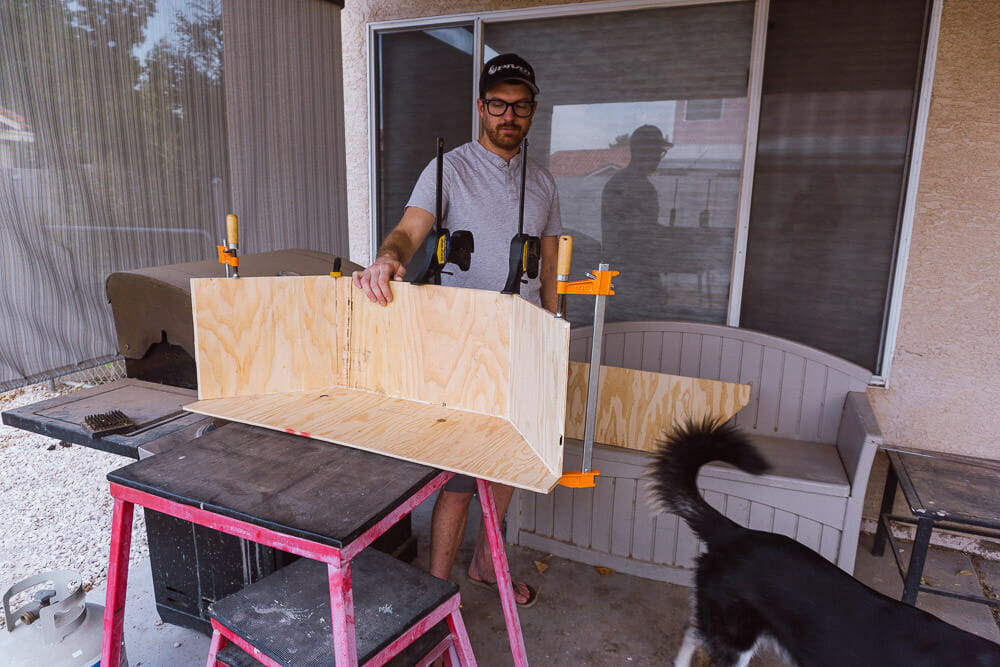
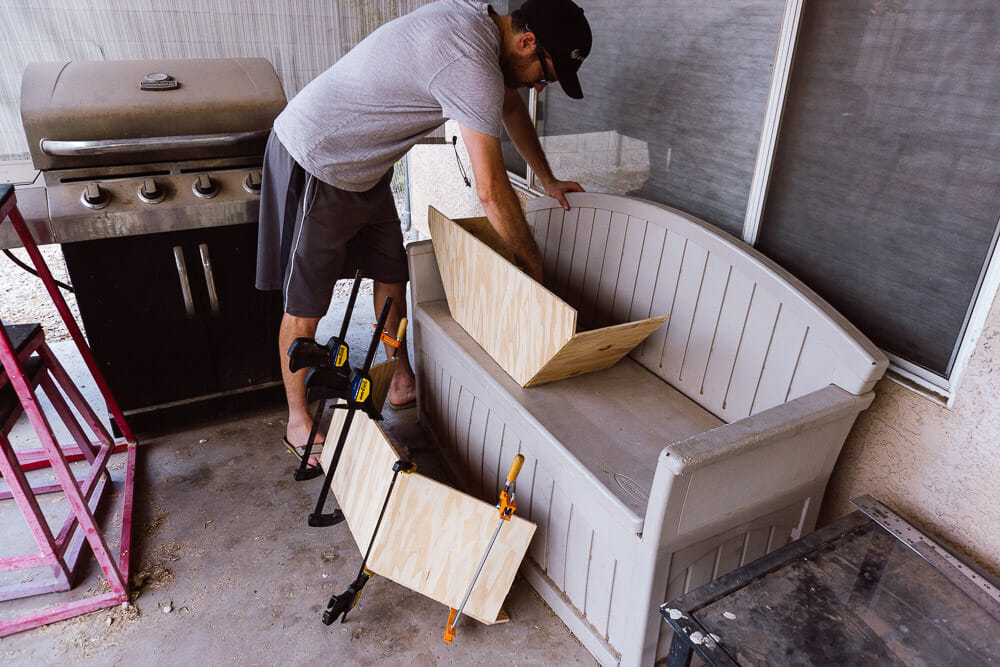
The walls and solar installation were a bit of a joint effort because how we were going to run wiring. This was determined by what we were doing with the walls and vice versa.  We definitely took two steps forward and one back throughout this process, which wasn’t helped by the Arizona heat.

Placing wiring
The first step was to start laying out all of the wires that I thought would be needed. This helped plan for battery placement, fuse boxes, and where the solar cords would run behind the walls.
Running solar panel wiring
We have six 15 watt solar panels; each with their own wire to run. The panels aren’t terribly efficient, but they are the kind that continue to work when it’s cloudy outside. And as an added bonus, they came with the van.
Sanding plywood walls
We ended up using 4×8′ sheets of plywood because of their ability to flex to the contour of the van walls. The wood was also lightweight and a decently priced option without chemicals. Kate sanded everything before we knew they’d be covered in carpet.
Attaching plywood walls to the van.
We used self-tapping sheet metal screws to attach the plywood to the metal support ribs in the van. You can see how much the plywood flexed by the time it was against the wall.
Admiring the "finished" van walls.
Finally got all of the walls installed.
Gluing carpet to the walls
We passed by the carpet section of Lowes and it clicked for both of us! That material ended up being great to work with and gave a durable but homey feel. We had to hold it up with binder clips and glued it with all purpose carpet glue. It had a bit of an odor but that dissipated in half a day.
Wheel well glue clamps
Fabricating the wheel wells. We measured them all up, cut the pieces, and glued them together; simple as that!
Wheel well plywood covers
Turns out the right wheel well is two inches narrower than the left one. Good thing we measured!
Painting carpet adhesive
Painting on carpet adhesive in the living room because it is way too hot to do it outside or even in the garage.
Pre-fabricated wheel wells
After the wheel wells were all glued up we waited for them to dry before being installed in the van.
Battery Isolator Relay
This little relay is connected to the battery bank in the back. It allows the car alternator to charge the cabin batteries in a situation where the solar isn’t enough. It only turns on when the key is in the ignition and a switch is flipped, so there is very little chance that someone could accidentally drain the motor battery. This means that the van should always start, even if the cabin batteries are fully drained. The relay is a Stinger 80A Isolator that is more commonly used in the audiophile world for amps that need to draw a large amount of power.

Kate is the lead content creator for ParkedInParadise.com and has spent over two years living in a camper van conversion. She has traveled through 48 US states and writes about van life, camping and RV living.

This Post Has One Comment

Leave a Reply

Your email address will not be published. Required fields are marked *