Skip to content

Refurbishing The Van Exterior

  • By Kate Moore
  • on 
  • This post may contain affiliate links. As an Amazon Associate, I earn from qualifying purchases. Please read my full disclosure.

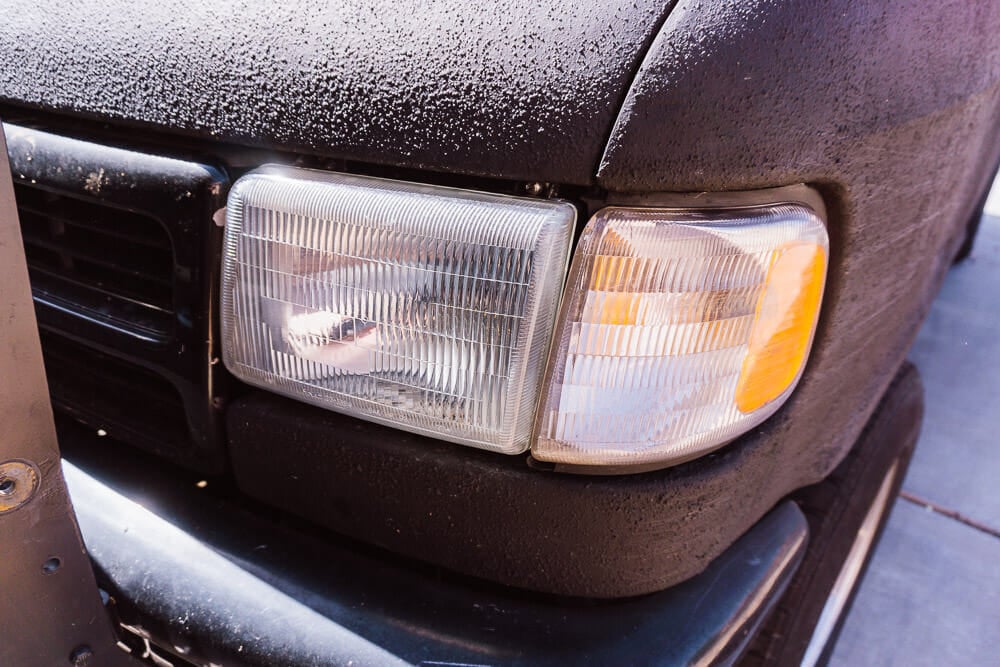
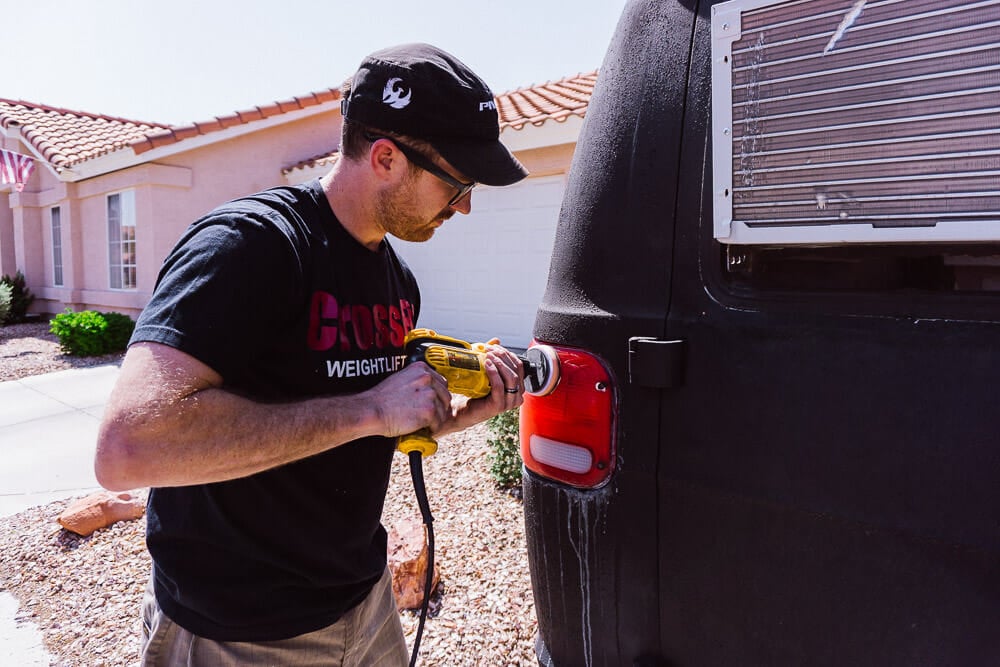
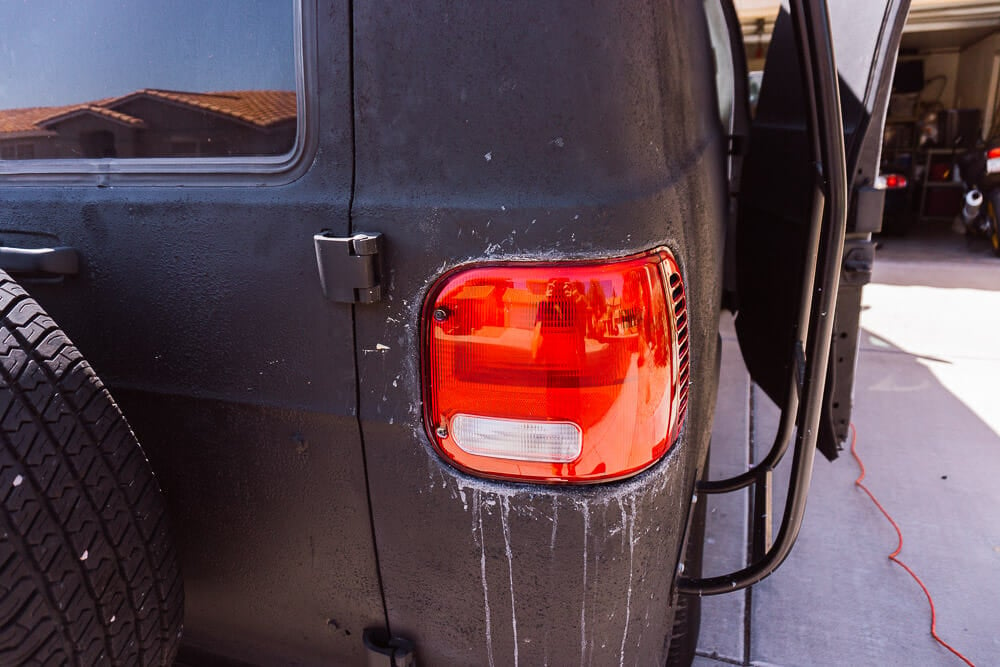
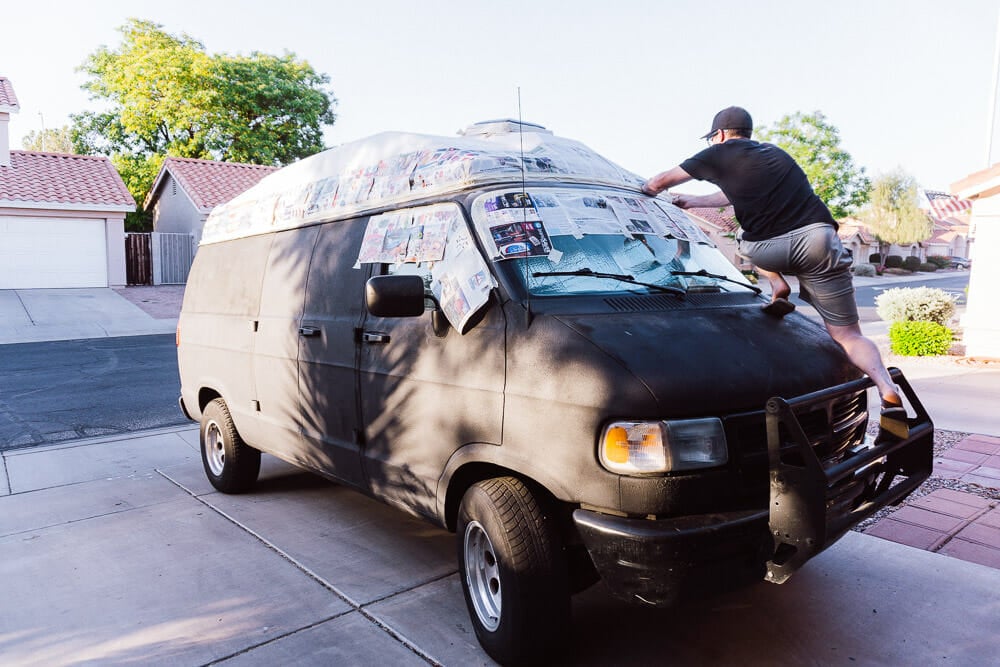
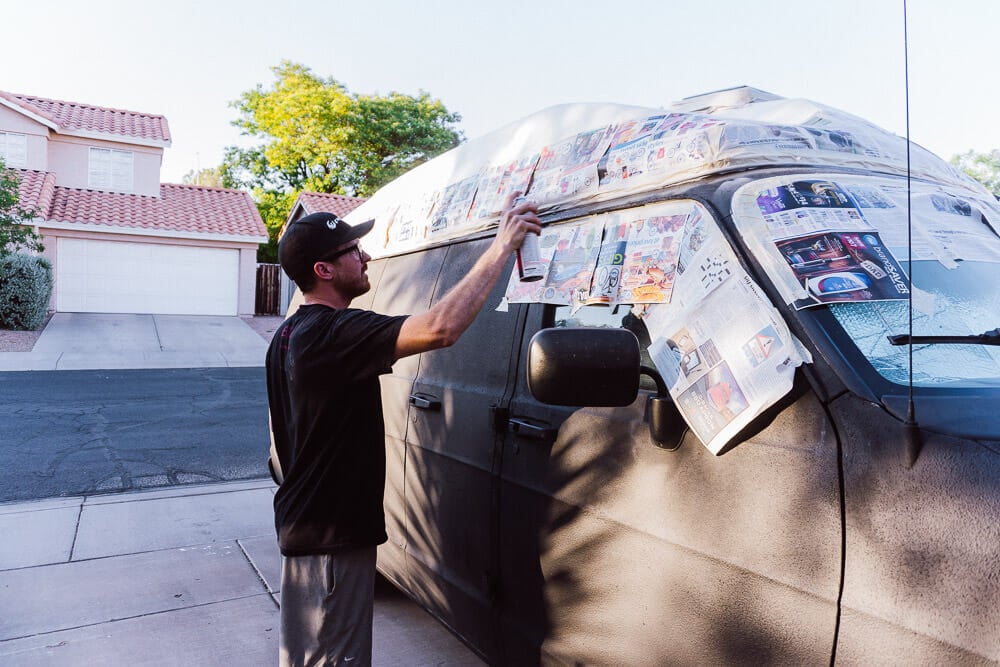
There were a few vehicle maintenance issues that we had to address before we could really get to the meat and tomatoes of our build.

Under the hood
First step: lighting refresh!  Popped the housings out and while I was in there I wired two 30A relays in to get the full 12V power to the halogens.  This is a pretty common upgrade on older vehicles as it wires power directly from the battery rather than through the harness, which results in less voltage drop to the bulbs.
Headligh Restoration Kit
The main reason for removing the lights was to clean up the haziness from 260k miles of driving life. This haze is caused by the sun and all the little bits of airborne particles bombarding the front of the van. I’ve noticed it happens a lot quicker in Arizona on vehicles that spend a lot of time on the highway.
Wiping the headlights clean
Little bit of hand polishing and a protectant wipe to finish the job up.
Before and after headlight restoration
I’m a big fan of the 3M headlight restoration kit designed to be used with a power drill as it reduces the sanding time significantly. You have to be a little careful as the drill can easily get hot enough to burn the lens when sanding.
Freshly installed headlight
Aaaaahhhh, feels like giving it a bath. Nice freshly refurbished headlight will make driving safer and the van look a bit better.
Restoring the tail lights
Taillights don’t see as much sun exposure and don’t need to be as clear to be functional so I did a quick pass with them still installed on the vehicle.
Exterior Refurbishing
Shiny, yet still creepy with the white residue dripping down. Like a wolf frothing at the mouth, it’s a niche touch on our exterior refurbishing.
Solar Panel Layout
Solar was already installed, but we remove it to clean up the roof. When we re-installed we put a dab of silicon on the bolt holes to keep the weather out. These are two 45-watt panel kits from Harbor Freight. Cheap, but not the most efficient setup.
Sanding the van roof
Sanding down some of the rough edges in prep for paint.
Paint Masking the van
Finally, we figured out what all of that junk mail was for! At this point we had painted the whole roof white pretty sloppily, so it was time to touch up the bedliner and make a clean edge so the van didn’t look too terribly run down.
Spray on bedliner
Rattle can bed liner to touch up the pristine roof line for a less offensive vehicle.

Kate is the lead content creator for ParkedInParadise.com and has spent over two years living in a camper van conversion. She has traveled through 48 US states and writes about van life, camping and RV living.

This Post Has 0 Comments

Leave a Reply

Your email address will not be published. Required fields are marked *