What Does A Solar-Ready RV Mean?
RV dealers like to throw around buzzwords like “solar-ready,” or “solar prep” but what does it actually mean, and is it worth investing in?
In this article we’re going to cover the basics of solar-ready RVs including what it means, how to use it, and whether or not this feature is worth the hype. Let’s get started!
What is a solar-ready RV?
In short, “solar ready” usually refers to an RV that’s been pre-wired to accommodate solar panels. It does NOT mean that the RV already has solar panels installed.
In fact, there is no industry standard for what constitutes a “solar ready” RV. Generally, it means that the manufacturer has included some wiring between the RV roof and the battery bank which is designed to accommodate solar panels.
Solar-ready, pre-wired for solar, and solar prep are interchangeable terms. So if you see a sticker on your new RV, you know that it’s ready to have solar panels installed at a later date.

(Lack of) Industry Standard
Because there is no industry standard for solar-ready RVs, it lands on the consumer to do appropriate research. When shopping for a solar-ready RV, it’s important to read into what the RV manufacturer is offering.
For example, some solar-prep RVs come with a compatible charge controller and inverter pre-installed. Others may only have the wiring included, leaving you to provide all of your own equipment.
At a minimum, a solar-ready RV should include wiring from the roof to the battery bank – though it won’t be connected until your solar panels are installed.
Things to look for
- Which components are included?
- Where the ports are located?
- Which plug type do the ports use?
- Are solar mounting points included?
- Where is the wiring located?
- What gage wire was used?
- Is the polarity reversed?
- Which solar company is partnered with the manufacturer?
Components
To install a full RV solar panel system you need four main components: solar panels, charge controller, batteries and wiring. Most people will want to include an inverter as well.
A solar-ready RV only comes with wiring, so you still need panels, a charge controller, and batteries.

Ports
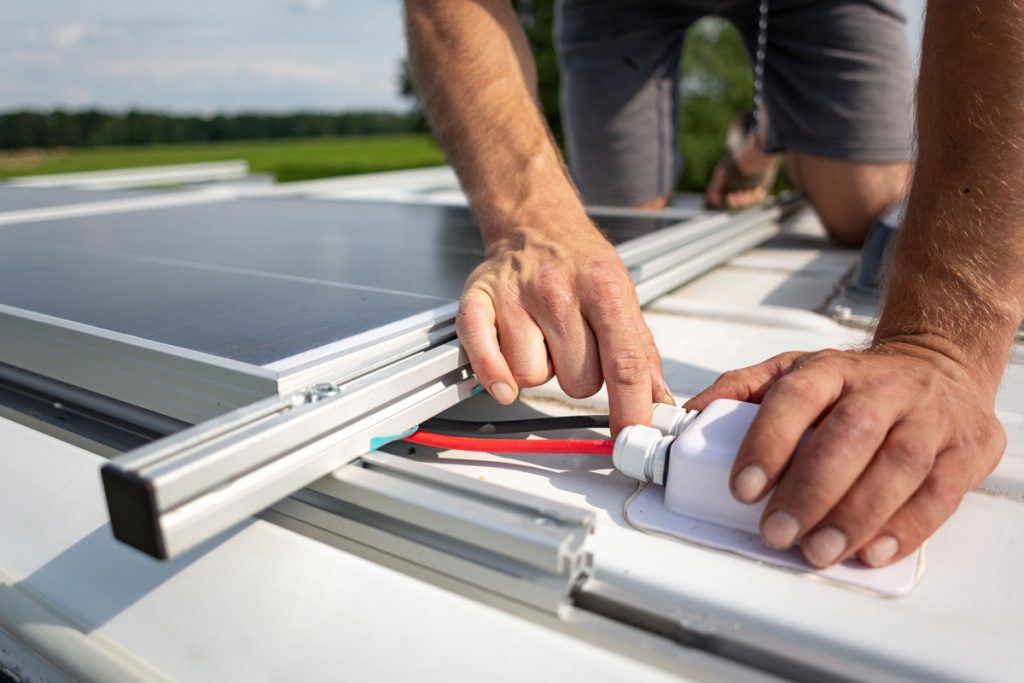
A port is simply a connection point between your wiring and the other components in your solar system. Your RV should have at least two ports:
- One connecting the solar panels to the wiring
- One connecting the wiring to the battery bank
You’ll want to look at the location of these ports. Some manufacturers place the solar port on the roof, and others have it inside the camper which may require you to drill through walls when it comes time to install your solar system.
Plug type
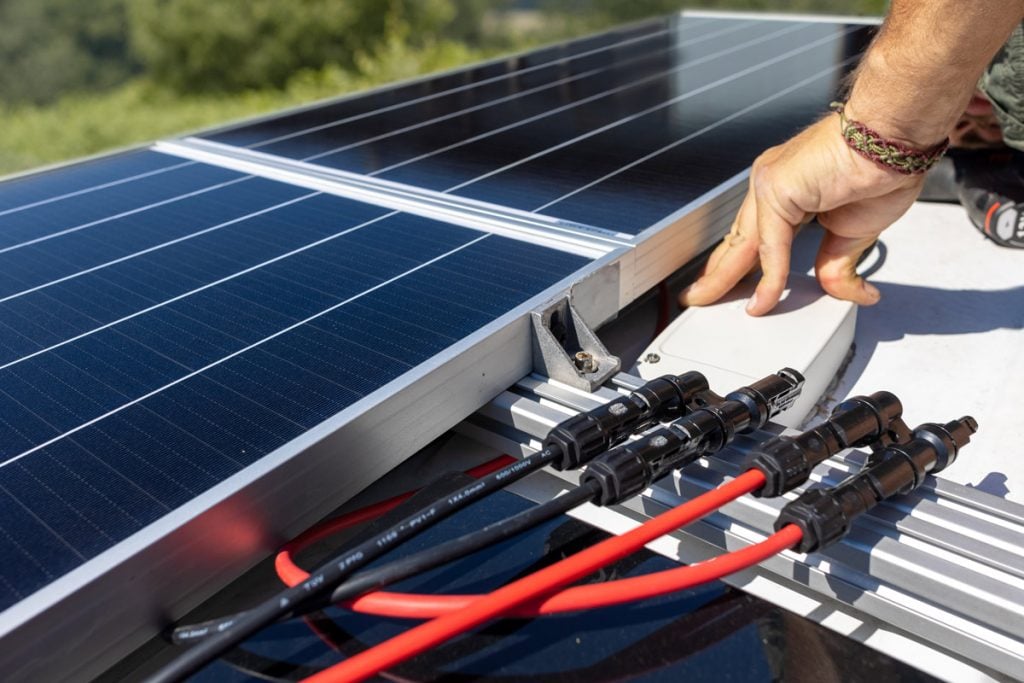
Solar panels are typically designed using standard MC4 connectors so they are easily compatible with other components.
In order to discourage campers from buying their own equipment, some solar-prep RVs will use uncommon plug connections like SAE connectors. If this is the case, you will need a special adaptor if you choose to install your own panels.

Mounting points
If your RV has solar mounting points, that’s a good sign. It means the manufacturer has designed the roof of your vehicle to accommodate solar panels. This makes installation much easier as you won’t have to worry about drilling holes or using adhesives.
Wiring Location
The location of the wires will have a big impact on the usefulness of your solar-prep RV. The solar-ready wires are often run inside the walls from the roof directly to the battery bank.
This is great if a charge controller come pre-installed.
But it doesn’t give you much room to add one later. A popular request is to add wires through a cabinet or into a hallway where a charge controller can be more convenient to use.
Wire Gage
You’ll also want to pay attention to the gage of wiring that was used. Thicker wires mean that they can handle more current, which is important if you’re going to be running power from your solar panels to your batteries.
Under-sized wiring can result in inadequate power which could make the setup useless for a larger solar array.
If you’re buying an RV brand-new, you can request a thicker gage wire to be included in your solar-ready package.
Reverse polarity
Before installing your solar panels, check the polarity. Some manufacturers will reverse the polarity of their “solar-ready” trailers so that you will be forced to buy their panels.
You can check the polarity using a voltmeter or multimeter. Often you will see a “warning sticker” telling you this information next to the port. If this is the case, you can purchase an adaptor to reverse the polarity back.
Plugging solar panels in with the wrong polarity can permanently damage your equipment, so double-check this feature!
Solar company partnerships
Many RV manufacturers have partnered with solar companies to offer these solar-ready RV systems. The idea is that you will purchase components with those specific companies, but you’re not obligated to do so.
Essentially, this is a marketing ploy for the companies to get you to buy their gear. Some manufacturers will even go so far as to include threatening warning stickers about the dangers of mixing and matching equipment, or reversing the polarity of the ports.
Rest assured, solar panels can be safely installed no matter who makes them.

Benefits of solar-ready RVs
Despite the lack of industry standardization, solar-ready RVs do offer a lot of benefits to motorhome owners.
Time: For starters, it’s going to save you a lot of time when it comes to installing solar panels. Running wires is one of the more time-consuming and difficult parts of installing solar panels, so having that done in advance can save you a lot of time and effort.
Cleaner install: Wires that are pre-installed will be run straight through the walls of the RV so you won’t have to cut holes in the camper or have visible components. This helps keep your RV looking nice and organized.
Cost: You’ll save money in the future by not having to purchase long runs of wire, and you may even be able to get discounts on solar panels through a package deal with the manufacturer.
Future-proofing: You may not need solar now, but having the equipment ready can save you a lot of hassle down the road if you ever decide to add solar to your RV.
How to install panels on a Solar-Prep RV
The first step to installing RV solar panels on a motorhome or travel trailer is to buy the appropriate equipment. If your RV is solar-ready, chances are good that the unit you bought comes with a recommended solar manufacturer.
It’s a good idea to reach out to this manufacturer first to see if they offer any discounts on equipment. You can also pick their brains to find out exactly which components and sizes they would be installing.
Once you have that information, you can purchase the equipment on your own or make modifications based on your personal needs.
It’s important to correctly size your solar system so all of the components work safely and seamlessly together. If you need help determining your solar system size, consider using an RV solar panel calculator to accurately estimate your energy usage.
If you are uncomfortable with electricity or have any doubts about your system components, hire an RV technician to install the system for you.
- Read these RV solar panel wiring diagrams for an overview of the full setup
Step 1: Mount the solar panels
Some solar-prep RVs come with mounting points already installed on the roof. This will save you the hassle of drilling holes and weatherproofing. If your RV does not come with mounting points, you can purchase mounting brackets to secure your panels.
If you are mounting more than one solar panel, connect them together. Read this article about series vs parallel wiring explaining how.
Make sure to fill in any holes you drill with RV roof sealant or caulk so you won’t have any leakage in the rain.
Step 2: Install the solar charge controller
Some RVs that are pre-wired for solar come with a solar charge controller included. If yours does, great! You’ve just saved yourself a whole lot of time. If you need to add your own charge controller, now is the time to do it.
Find a location for the charge controller nearby the battery bank within easy access. Some RVs come with access panels that have labels indicating where to mount your charge controller.
- Mount the charge controller
- Connect the positive and negative wires for the battery to the charge controller
- Connect the positive and negative wires for the solar panel to the charge controller
Step 3: Connect the solar panels
The last step is connecting the RV solar panels. Before doing this, double check that all of your connections are in good working order. Triple check the polarity (positive and negative) of both the panels and the wires.
If you need extra reassurance, have an RV electrician look over all of your wiring before connecting the panels. Once you are sure everything is safe, plug it in and start charging up those batteries!
FAQs
Can you install your own solar panels on a solar-ready RV?
Yes! You do not have to use the manufactures recommended solar panels on your solar-ready RV. Just make sure that all components are properly-sized and compatible. Double-check for reverse polarity before plugging in the panels.
Can you use portable panels with a solar-ready RV?
Yes, solar panels do not need to be permanently mounted on the roof. Many solar-ready RVs come with wall ports on the outside to easily plug in your portable panels.
Why don’t the panels on my solar-ready RV work?
Check to see if the polarity on the solar port is reversed. You can do this using a digital voltmeter. Some manufacturers reverse the polarity to force you to buy their own panels. In this case, you can purchase an adaptor.
Can you run an RV completely on solar power?
RVs and travel trailers are power-hungry campers. While it’s possible to go boondocking with solar alone, solar panels will not provide enough energy to power your camper for full-time travel.
RV Brands pre-wired for solar
Several different brands now offer solar-ready RVs and travel trailers. Below are a few brands and the specifics about what is included.
Jayco
Jayco campers now offer solar ready packages. They have partnered with Go Power! to supply the equipment. Jayco has the option of several different solar power packages to choose from. These solar packages come pre-installed from the manufactuer so it’s covered under warrenty and you won’t have to lift a finger to install.
The most expensive package, called the Overlander Premium EXT Package comes with everything you need for a full solar system including 6x200W solar panels, 6x100Ah Lithium batteries, charge controller, inverter, and battery monitor.
Jayco’s smaller packages include a solar panel, charge controller, and the wiring to connect everything together.
Forest River
The Forest River solar-ready packages are less-impressive than Jayco. Forest River has partnered with Zamp Solar. What does this mean?
Solar-prep Forest River campers come with a port on the roof for solar panels to plug into. There is also wiring that leads to the battery bank. It does not come with a charge controller.
The Zamp configuration uses non-standard plugs, and the polarity is reversed.
In other words, unless you purchase the solar kit directly from Zamp, you’re going to have to do some modifications or spend the money on additional adaptors and other products to install solar panels on your RV.
Keystone
Solar-prep Keystone RVs also come wired up for Zamp Solar systems. That means that chances are good the polarity is reversed and non-standard connectors are used.
Keystone solar-prep uses factory wiring designed to support up to 510W of solar on the roof. There is a roof port, and a side port for portable solar panels. The package does not come with a charge controller or inverter (those are optional add-ons).
Zamp Solar Prep
If your RV comes with a Zamp solar-prep package, you are not alone. Zamp Solar packages come pre-wired in over half of RVs produced today! That includes many of the most popular brands like Airstream, Winnebago, Thor, and Casita.
How do you know if you are a victim? Zamp solar ports have their name stamped on them.
The company claims to do all the hard work of wiring for you, but if you want to install your own solar panels on a Zamp wired system, that is not the case!
Zamp Solar is also known for using non-standard connections and reversing the polarity of their ports. You MUST double-check this using a multimeter or voltmeter before installing your own solar panels.
You can purchase adaptors to reverse polarity and convert their SAE to MC4 solar connectors.
That’s A Wrap!
Solar ready prep packages can save you a lot of time and energy when it comes to wiring. But it is most beneficial if you use the recommended solar company that the brand is partnered with.
Overall, solar-ready RVs are largely marketing propaganda.
When adding your own solar panels into a pre-wired system, make sure you have the proper components, system sizing, and double-check the polarity of the ports. Good luck!
