
How To Winterize an RV Camper
You’ve decided not to brave the world of winter camping. It’s nearing the cold season and you’ve had a fantastic spring and summer traveling the country in your RV. You’d really like to do it again next year, right?
It’s tempting to simply tuck your camper away under a cover and forget about it for six months. But without going through the proper steps, you’re probably going to uncover your camper in the spring and find all sorts of damage.
In this post we’re going to explain how to winterize your RV step-by-step.

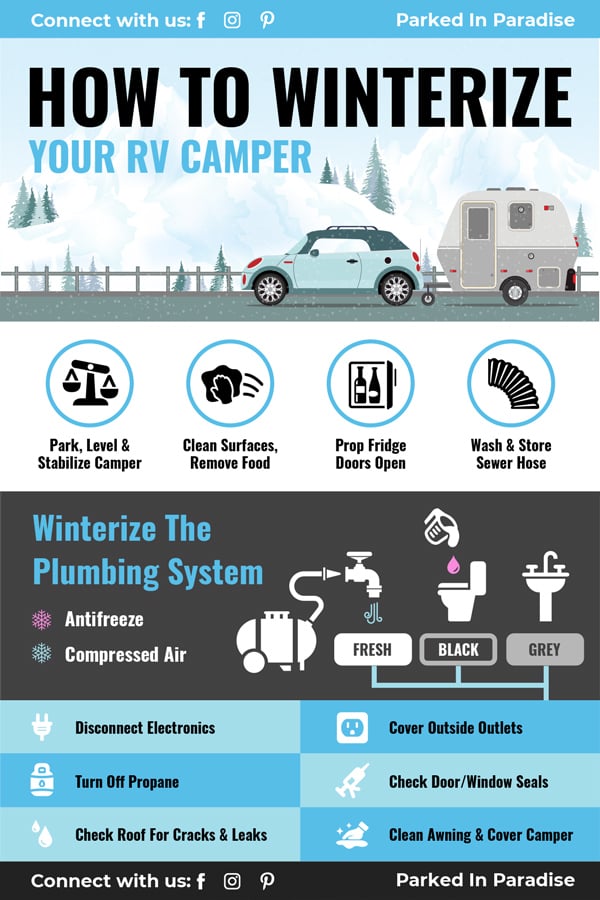
Winterizing RV Checklist
- Park and stabilize the camper
- Clean RV and remove any food items, prop refrigerator doors open
- Wash out and the store sewer hose
- Winterize your RV plumbing system with either antifreeze or compressed air
- Disconnect all electronics
- Turn off propane (LP items)
- Add fuel stabilizer to gas tank and generator (if storing 6 months or longer)
- Cover outside outlets or openings
- Check seals around doors and windows
- Look over the roof for leaks
- Clean the awning
- Cover the camper
1. Park and Stabilize Your Camper
The first step to winterizing is finding a place to park and store your RV. You’ll want to find a level surface and stabilize the tires using wheel chocks or leveling blocks. Make sure the tires are centered evenly on the blocks without any edges hanging off. For towable campers, use a sturdy camper jack or stabilizer to prevent the vehicle from moving.
Some RV travelers take things a step further and jack their campers off the ground–stabilizing with concrete blocks. This will keep your tires from developing flat spots when sitting for long periods of time.
If you have a motorized RV, park it with the emergency brake engaged.
2. Clean The Camper
Start by unpacking the RV. Take any valuables indoors and get rid of any food or crumbs in the vehicle. Wipe down floors and surfaces. That includes: closets, countertops, cabinets, oven and range, microwave, refrigerator, toilets and showers.
Remove and clean any sheets, bedding or curtains. Don’t leave anything behind that will attract bugs.
As campers, we tend to worry about pests like mosquitos and gnats that tend to die off in the winter. Cockroaches, on the other hand, will only die in temperatures below 15 degrees, and they’ll do whatever they can to get indoors to stay out of the cold. You don’t want anything that will attract bugs or rodents left in the RV.
Unplug the refrigerator and clean out the ice maker. Empty all contents. Defrost the interior, and prop open both the fridge and freezer doors to prevent mold.
Cleaning everything before you store your RV for winter will also make it quicker to get back into gear once the spring camping season begins.
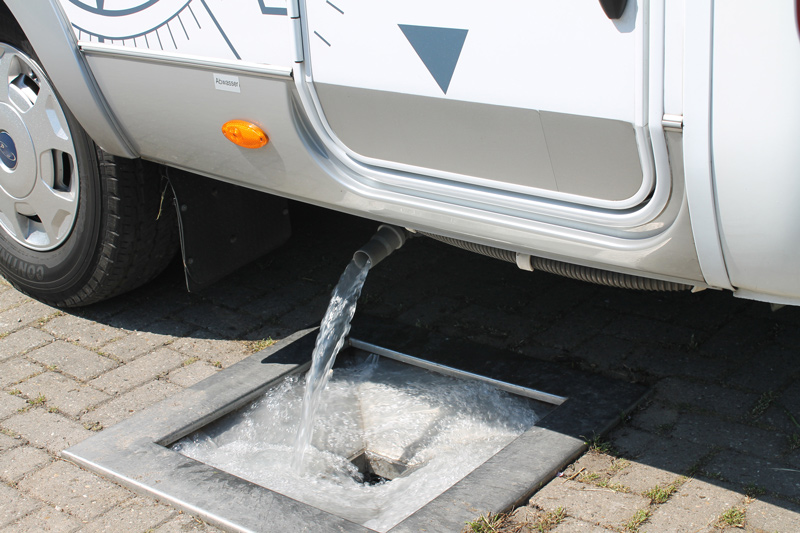
3. Wash Out And Store The Sewer Hose
At the end of the season, drain your RV black and gray water tanks then wash out the sewer hose. Many campers choose to store sewer hoses in the rear bumper or external compartment.
You can connect one end of the hose to the other which will ‘close the loop’ keeping your hose sanitary and contained throughout the winter.
4. How To Winterize An RV Plumbing System
Winterizing the plumbing system is the most time-intensive process at the end of the season. This means getting rid of all the water in your pipes so it doesn’t freeze throughout the winter. Frozen pipes can burst, causing leaks and expensive replacement parts in the spring if it’s not done properly.
Winterizing is not a difficult process, but it does take a few steps and a bit of time.
There are two common ways to winterize an RV:
- Antifreeze
- Compressed Air
How To Winterize An RV Water System With Antifreeze
Using antifreeze to winterize your camper is the most common approach. You’ll start by manually draining all the water tanks as much as possible. Most campers have 2-3 low point drains that can be opened to clear the tanks.
- Flush and drain the black and grey water tanks
- Drain the water heater
- Drain the fresh water system: Open all exterior low point drains. Then, open all hot and cold faucets and showerheads inside the camper. Press on the toilet pedal to flush any existing water out of the system.
- Remove any inline water filters
- Check to see if your system has a water heater bypass installed: if it does, turn on the bypass valve
- Pump antifreeze throughout the water system
What Is A Water Heater Bypass?
Part of winterizing your RV involves adding antifreeze to your plumbing system. You’ll need between 1-3 gallons of antifreeze to flow through your pipes; plus enough antifreeze to fill up your water heater.
A water heater may require an additional 6-10 gallons of antifreeze which can get costly.
A water heater bypass is an extra section of plumbing that can be added to the camper so you don’t need to fill the water heater with antifreeze. It makes the system faster to drain in the spring, and saves you money in the long run.
Pumping The Antifreeze
Once all the water has been removed and plumbing has been drained, it’s time to pump antifreeze throughout the system. Make sure you only use antifreeze that is designed specifically for RV potable water systems! These are non-toxic and safe to use in drinking water systems.
Start by closing any low point drains that have been opened. Then, locate the inlet valve on your 12v water pump. Use a short piece of hose attached to the inlet side of your pump on one end and the antifreeze bottle on the other.
You’ll need about 1-3 gallons if there is a water heater bypass installed; plus an additional 6-10 gallons if you don’t have one.
Turn on the water pump to pressurize the system. Then open each faucet one-by-one starting with the closest to the water pump until you see pure antifreeze flowing. Do the same with any shower heads and toilet sprayers. You’ll also want to flush the toilet to get antifreeze throughout the system.
After you’re confident antifreeze has reached every section of your plumbing, turn the pump off and close the inlets.
How To Winterize An RV Water System With Compressed Air
Winterizing with compressed air has its advantages because you don’t have to purchase much antifreeze; and you don’t need to flush the antifreeze out in the spring. That means it’s less expensive and you can start your next trip sooner.
With all that being said, it’s very difficult to get every last drop of water out of your plumbing system using only compressed air. A little water could still freeze if it collects at the low points of your vehicle. For that reason, you’ll want about 1 cup of antifreeze per fixture (sink drain, shower drain, toilet) on hand.
Winterizing with compressed air works best if you live in an area with mild winters.
You’ll need:
- Air compressor with adjustable pressure regulator
- Blow out plug that fits into the city water inlet
- Small amount of RV antifreeze
The process for winterizing a water system is straightforward:
- Flush and drain the black and grey water tanks
- Drain the fresh water system: Open all exterior low point drains. Then, open all hot and cold faucets and showerheads inside the camper. Press on the toilet pedal to flush any existing water out of the system.
- Drain the water pump
- Remove any inline water filters
- Drain the water heater and turn on the bypass valve if one is installed
- Hook your air source into the city water inlet using a blow out plug
- Turn on the air compressor: Make sure to limit the pressure to a maximum of 40PSI.
- Open each faucet and fixture: Start with the fixtures closest to your air source and work your way out. You should see remaining water sputter until only air is released from the faucets. Do this with both the hot and cold settings. Turn on the shower head, toilet sprayer, and flush the toilet as well until all the water has been flushed out of the system.
- Turn off the compressor
- Pour about one cup of antifreeze into each fixture: That includes every sink drain, shower drain, and the toilet.
- Remove all low point drain plugs and hot water heater drain plug
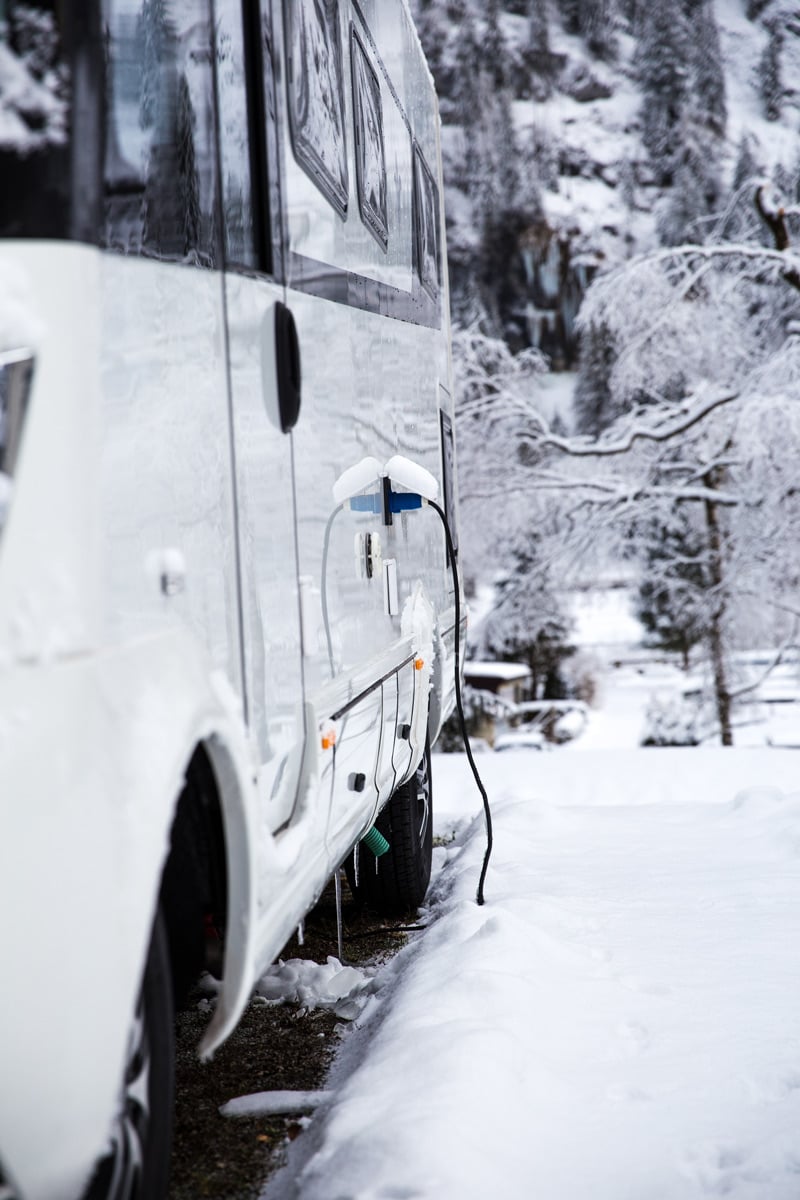
5. Disconnect Electronics
After your camper has been stabilized, cleaned and the plumbing system drained, it’s time to winterize the electric system. Start by disconnecting all electronics: TVs, stereos, small electronics, coffee maker, water pump, and anything else plugged into the outlets.
Disconnect the batteries and store them in a room temperature location if possible. Batteries left in sub-freezing temperatures will have significantly shorter lifespans.
6. Turn Off Propane (LP)
If you have portable propane tanks remove them and cap any lines. Otherwise, locate your on-board propane tank in the outside compartment of your camper. The shutoff valve will be attached to the tank itself. Turn it all the way to the right, or clockwise, to ensure that it is shut off.
7. Changing Oil And Adding Fuel Stabilizer
When parking your RV for long term storage (6 months or more) it’s a good idea to change the oil and filters before packing it away. Additionally, you should add fuel stabilizer to both the gas tank and your generator. Follow the stabilizer instructions and let the engine and generator run for a few minutes to give the stabilizer time to work through the system.
8. Cover Outside Outlets
Cover your exhaust guard, inlets, outlets, and any other holes to prevent pests from climbing inside. If you live in a particularly wild area, you can even use shrinkwrap and double-sided tape to both seal and insulate your windows.
You can purchase mesh screens to cover water heaters or battery vents. They come in a variety of shapes and sizes that can be used on other openings as well.
9. Seal Door And Window Gaps
Take a look around the edges of all the doors and windows in your camper. You may find that the existing seal has started to erode over time. Re-seal any gaps you find with lap sealant. That will prevent any water from leaking inside during storage and further deter insects from creeping in.

10. Look Over The Roof For Leaks
Similarity, you should get on a ladder and take a look at the roof. Pay special attention to the area surrounding vent fans, air conditioners, antennas, wiring or exhaust pipes.
Inspect the area for leaks and apply lap sealant where necessary.
If you’re feeling especially ambitious or if your roof is getting old, consider applying a full coverage sealant across the entire roof to extend its life for a few more years.
11. Clean The Awning
Roll out the awning and clean the fabric using RV awning cleaner. Do not use dish detergent or cleaners that contain de-greasers because they could cause cracks in the awning when they dry out.
This is a good time to wash and wax the outside of your RV as well.
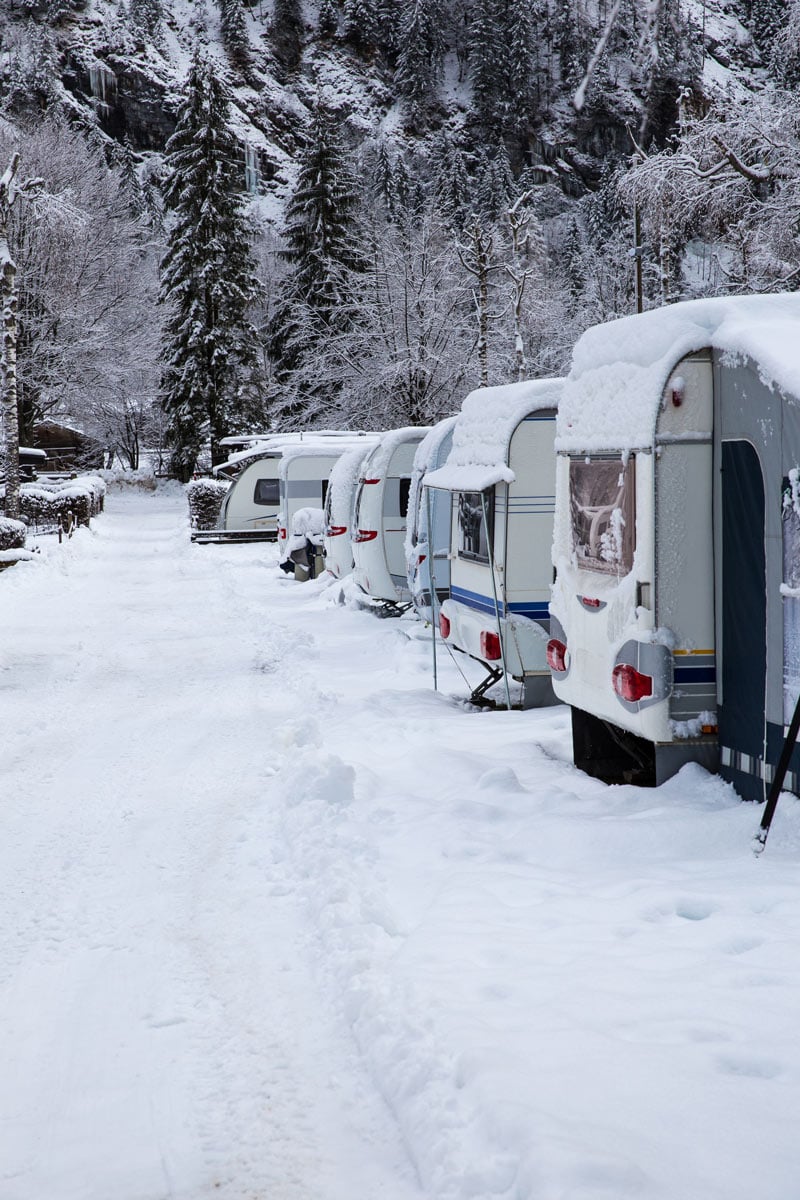
12. Cover Your Camper
It’s finally time for the tuck-in! Find a breathable camper cover that is designed for winter weather. You want it to be sturdy but not so thick that air and moisture get trapped beneath it. Otherwise, you may uncover your camper in the spring and find some mold or mildew creeping out from the crevices.
If your camper has sharp edges, you might want to cover them with some old towels or rags so that they don’t put holes in your cover.
Don’t forget to cover your tires if they’re exposed under the cover as well.
A Winterized Camper Is a Happy Camper
Knowing how to winterize a camper the right way will save you a lot of hassle and expenses. While replacing busted pipes in your RV is not the end of the world, avoiding that kind of damage in the first place will make a spring trip that much smoother.
This is some really great info. I like how it is laid out and it is worded in a manner that is very understandable.
Thanks for taking the time to post this.
The Caldwell’s
This post gives me a lot of useful ways. I will try them on my next journey. Please update more posts like this post. Thanks so much!
I tried to use your way and it worked well, I really satisfied with it. I hope can receive more posts from you. Thanks a lot!!
If you want to keep winterize RV without antifreeze, you need: drain the water, drain the black and gray holding tanks onto a designated local dump station, repeatedly flush the toilet and open all faucets until water is all drained, makes use of a blowout plug to let compressed air pass through all the water lines for a thorough drain. It’s recommended that you line heat-generating insulation tape on hoses, valves, and water lines – as these are most vulnerable. Your RV needs a little bit of ventilation, vent covers allow your RV to control the air coming in – making sure there’s free airflow. Finally, Upgrade or install insulation will do wonders to keep your RV warm.
Definitely, you can perform RV winterization without an antifreeze easily.
Please remember you cannot be heard over the RUNNING WATER!!!